How to Remove Drive Shaft from Gearbox

. These are typically located at the drive shaft's front end, connecting to the gearbox output shaft. Carefully loosen and remove these bolts or fasteners using the appropriate wrench. Keeping track of all components extracted during this step is essential to ensure a smooth reassembly process later.

Handling Couplings and Universal Joints

Many drive shafts are equipped with universal joints (U-joints) or couplings, allowing the shaft's angle flexibility. These joints are critical for accommodating the movements of the vehicle's suspension and changes in driveline angle during operation. If your drive shaft has a U-joint at the gearbox connection, you may need to remove retaining clips or bolts holding the U-joint in place. Handle these components with care to avoid damage.

Removing the Drive Shaft

Once all fasteners are removed, gently slide the drive shaft away from the gearbox. Check for any overlooked bolts or clips if the shaft doesn't easily slide out. Sometimes, slight tapping with a rubber mallet around the joint can help loosen the shaft. However, be careful not to apply excessive force, as this could damage the gearbox output shaft or the drive shaft itself.

Drive Shaft

Post-Removal Inspection and Maintenance

Inspecting the Drive Shaft

With the drive shaft removed, inspect it for signs of wear or damage, such as cracks, bends, or worn U-joints. These issues can lead to vibrations, noise, or even drivetrain failure if not addressed. Depending on the condition of the drive shaft, it may need to be repaired or replaced.

Gearbox Inspection

This is also an opportune time to inspect the gearbox's output shaft and the seal where the drive shaft connects. Leaks, damage, or wear in this area can lead to lubricant loss and gearbox issues. If the seal is compromised, consider replacing it before reinstalling the drive shaft.

Troubleshooting Common Problems

During the removal process, you might encounter several challenges:

  • Seized Bolts: If bolts or fasteners are taken, apply a penetrating oil and allow it to soak in to help loosen them. Use a breaker bar for additional leverage if necessary, but proceed with caution to avoid snapping the bolt.
  • Inaccessible Fasteners: Sometimes, exhaust components or other vehicle parts may obstruct access to the drive shaft bolts. In such cases, you may need to remove these obstructing parts first. Always support any components you remove with appropriate stands or jacks.
  • Damaged Components: If you discover damaged parts, such as a bent drive shaft or a worn U-joint, address these issues before reassembly. Continuing to use damaged components can lead to further vehicle damage or unsafe driving conditions.

Reinstallation Tips

Reinstalling the drive shaft is essentially the reverse of the removal process, but with additional considerations:

  1. Lubricate New Seals: If you replaced the gearbox seal, lightly lubricate it with the appropriate transmission fluid to ensure a smooth fit and to prevent damage upon reinserting the drive shaft.
  2. Align Properly: Ensure the drive shaft and U-joints are adequately aligned with the gearbox output shaft and the differential. Misalignment can cause vibrations and premature wear.
  3. Torque Specifications: When reattaching the drive shaft to the gearbox, use a torque wrench to tighten the bolts to the manufacturer's specified torque settings. This ensures a secure fit without over-tightening, which could strip the threads or damage components.
  4. Check for Free Movement: Once reinstalled, manually rotate the drive shaft to ensure it moves freely without binding or excessive play, indicating proper alignment and installation.

Removing a drive shaft from a gearbox can seem daunting, but with the right tools, preparation, and understanding, it's a task that can be accomplished by anyone willing to take the time to do it right. Whether you're a seasoned mechanic or a DIY enthusiast, paying close attention to each step, handling components with care, and addressing any issues as they arise are critical to a successful outcome. This guide gives you the knowledge and confidence needed to tackle this task head-on, ensuring your vehicle remains in top working condition.

FAQs

Q: How often should the drive shaft be removed? A: Typically, the drive shaft must only be removed for repairs, maintenance, or when replacing the gearbox or differential. There's no set interval for removal, but it's a good practice to inspect the drive shaft during routine vehicle maintenance.

Q: Can I replace a drive shaft myself? A: A competent DIYer can replace a drive shaft with the right tools and follow detailed instructions. However, ensure you understand the process and take necessary safety precautions.

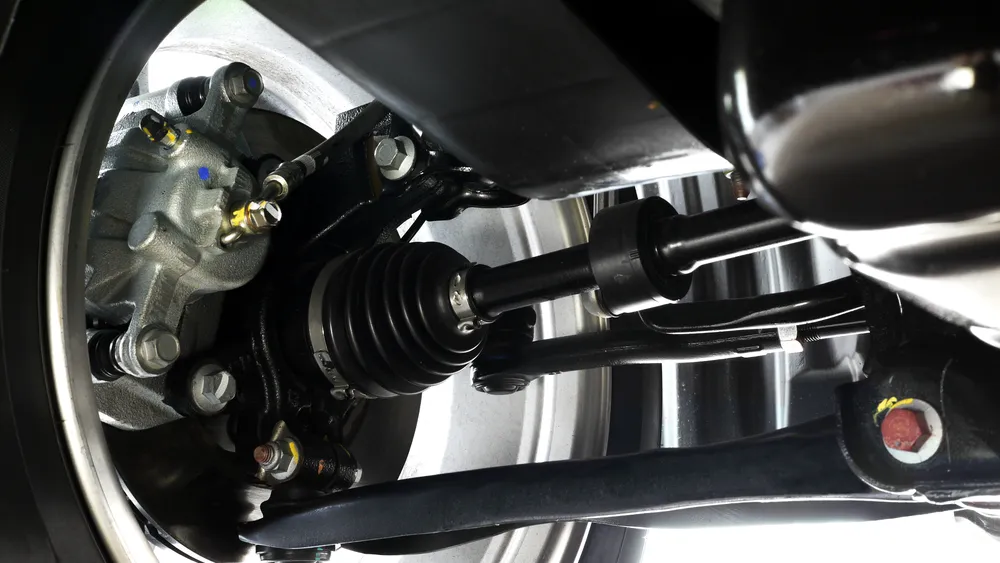
Q: What are the signs of a failing drive shaft? A: Symptoms of a failing drive shaft include vibrations under the vehicle, unusual noises (clunks or squeaks) when accelerating or decelerating, and visible wear or damage to the U-joints. In severe cases, a failing drive shaft can lead to a loss of power transmission from the gearbox to the wheels, significantly affecting the vehicle's drivability.Q: How do I know if the drive shaft or U-joints need replacement? A: Inspect the drive shaft and U-joints for any signs of wear, rust, or damage. Common indicators include excessive play in the U-joints, visible cracks or rust, and stiffness or binding when rotating the drive shaft by hand. If any of these conditions are present, replacement of the affected parts is recommended to maintain proper function and safety of the vehicle.

Q: Can drive shaft removal affect vehicle alignment? A: Removing the drive shaft should not affect the vehicle's wheel alignment since it's part of the drivetrain, not the suspension or steering components. However, if suspension components are disturbed or removed during the process, it's a good idea to check and adjust the alignment to ensure optimal handling and tire wear.

Q: What preventive measures can be taken to avoid drive shaft problems? A: Regular inspection and maintenance are key to preventing drive shaft issues. This includes checking for and addressing signs of wear or damage to the drive shaft and U-joints, ensuring all fasteners are properly torqued, and replacing worn seals to prevent lubricant leaks. Additionally, avoid harsh driving conditions when possible, as excessive strain from activities like off-roading or aggressive acceleration can accelerate wear on these components.

Final Thoughts

Removing and servicing a drive shaft is critical for anyone looking to perform comprehensive maintenance or repairs on their vehicle. While the task may appear challenging at first glance, a methodical approach and a clear understanding of the vehicle's drivetrain can make the process manageable and rewarding. Always prioritize safety, from adequately securing the vehicle before beginning work to wearing the appropriate personal protective equipment. By following the guidelines and tips provided in this guide, you'll be well-equipped to handle drive shaft removal and installation, ensuring your vehicle remains reliable and performs at its best. Remember, the key to success lies in preparation, attention to detail, and a willingness to learn and apply new skills. Whether you're a seasoned professional or a dedicated DIY enthusiast, the ability to service and maintain your vehicle's drivetrain is an invaluable part of automotive care and ownership.

Tags:

China Reducers

As one of leading speed gear reducers manufacturers, suppliers and exporters of mechanical products, We offer speed reducers and many other products.

Please contact us for details.

Mail: [email protected]

Recent Posts

en_USEN